1. Send in first log messages
Graylog is pretty useless without some log data in it. Let's start by sending in some messages.
Select a source
Let's send log messages from something that is easy to configure and gets you started as soon as possible.
Network hardware
Firewalls, routers, switches, appliances: These devices can usually be configured to send syslog over the network to a central location like Graylog. Please refer to the documentation of your devices to find out how to configure them. In Graylog, all you need to do is spawn a syslog input and then point your device to the port you launched it on. How to do this is described in Starting an input later in this guide.
Watch out: Many network devices pretend to send syslog but are not RFC compatible. If you receive messages that are not properly parsed or cannot be read at all, you should go on with another device or operating system as your first source. After you have some experience with Graylog you can read this guide in our documentation to learn how to work around the non-RFC syslog problem.
Linux
Sending logs from Linux is described in this official guide on the Graylog Marketplace.
Windows
Sending logs from Windows is described in this official guide on the Graylog Marketplace.
Your own applications
A very common use case is to write logs directly from your applications and services into Graylog. We have developed the Graylog Extended Log Format (GELF) to help you with exactly that. GELF is a structured log format supported by almost a hundred libraries out there. Want to send GELF directly from Java, Ruby, PHP, node.js, Erlang or anything else? No problem.
You can learn more about GELF and why it is a great choice here.
Local log files
Sometimes you only have a local log file that you want to send into Graylog. Luckily there are many ways to tail a logfile and reliably forward new log lines over the network:
Filebeat, NXLog, Fluentd
There are other forwarders that we have seen used successfully in user and customer environments. Filebeat, NXLog and fluentd are all worth a look.
Starting a message input in Graylog
By now you have selected a device or software that you want to send log messages from into Graylog. The next thing to do is to start a message input that your source can send its log messages to.
Good to know
There are a few general things to know:
Ports lower than 1024
Most Linux distributions systems will not allow a non-root user to start a message input listening on a port
lower than 1024. There are workaround to allow this, but our advice is to just use a higher port number. The
standard syslog port is 514, so you could just launch it on 5140.
Inputs that could not be launched
If an input could not be launched (for example because of the <1024 problem mentioned above or because something
else is already listening on the same port) you will get a notification in System -> Overview that
usually also gives a hint about what went wrong. The graylog-server log file can help with debugging, too.
How to debug if messages arrived
We of course hope that everything works on the first attempt and you can immediately find messages you sent into Graylog by executing a search. This is however sometimes not the case. Here are two things that help with debugging:
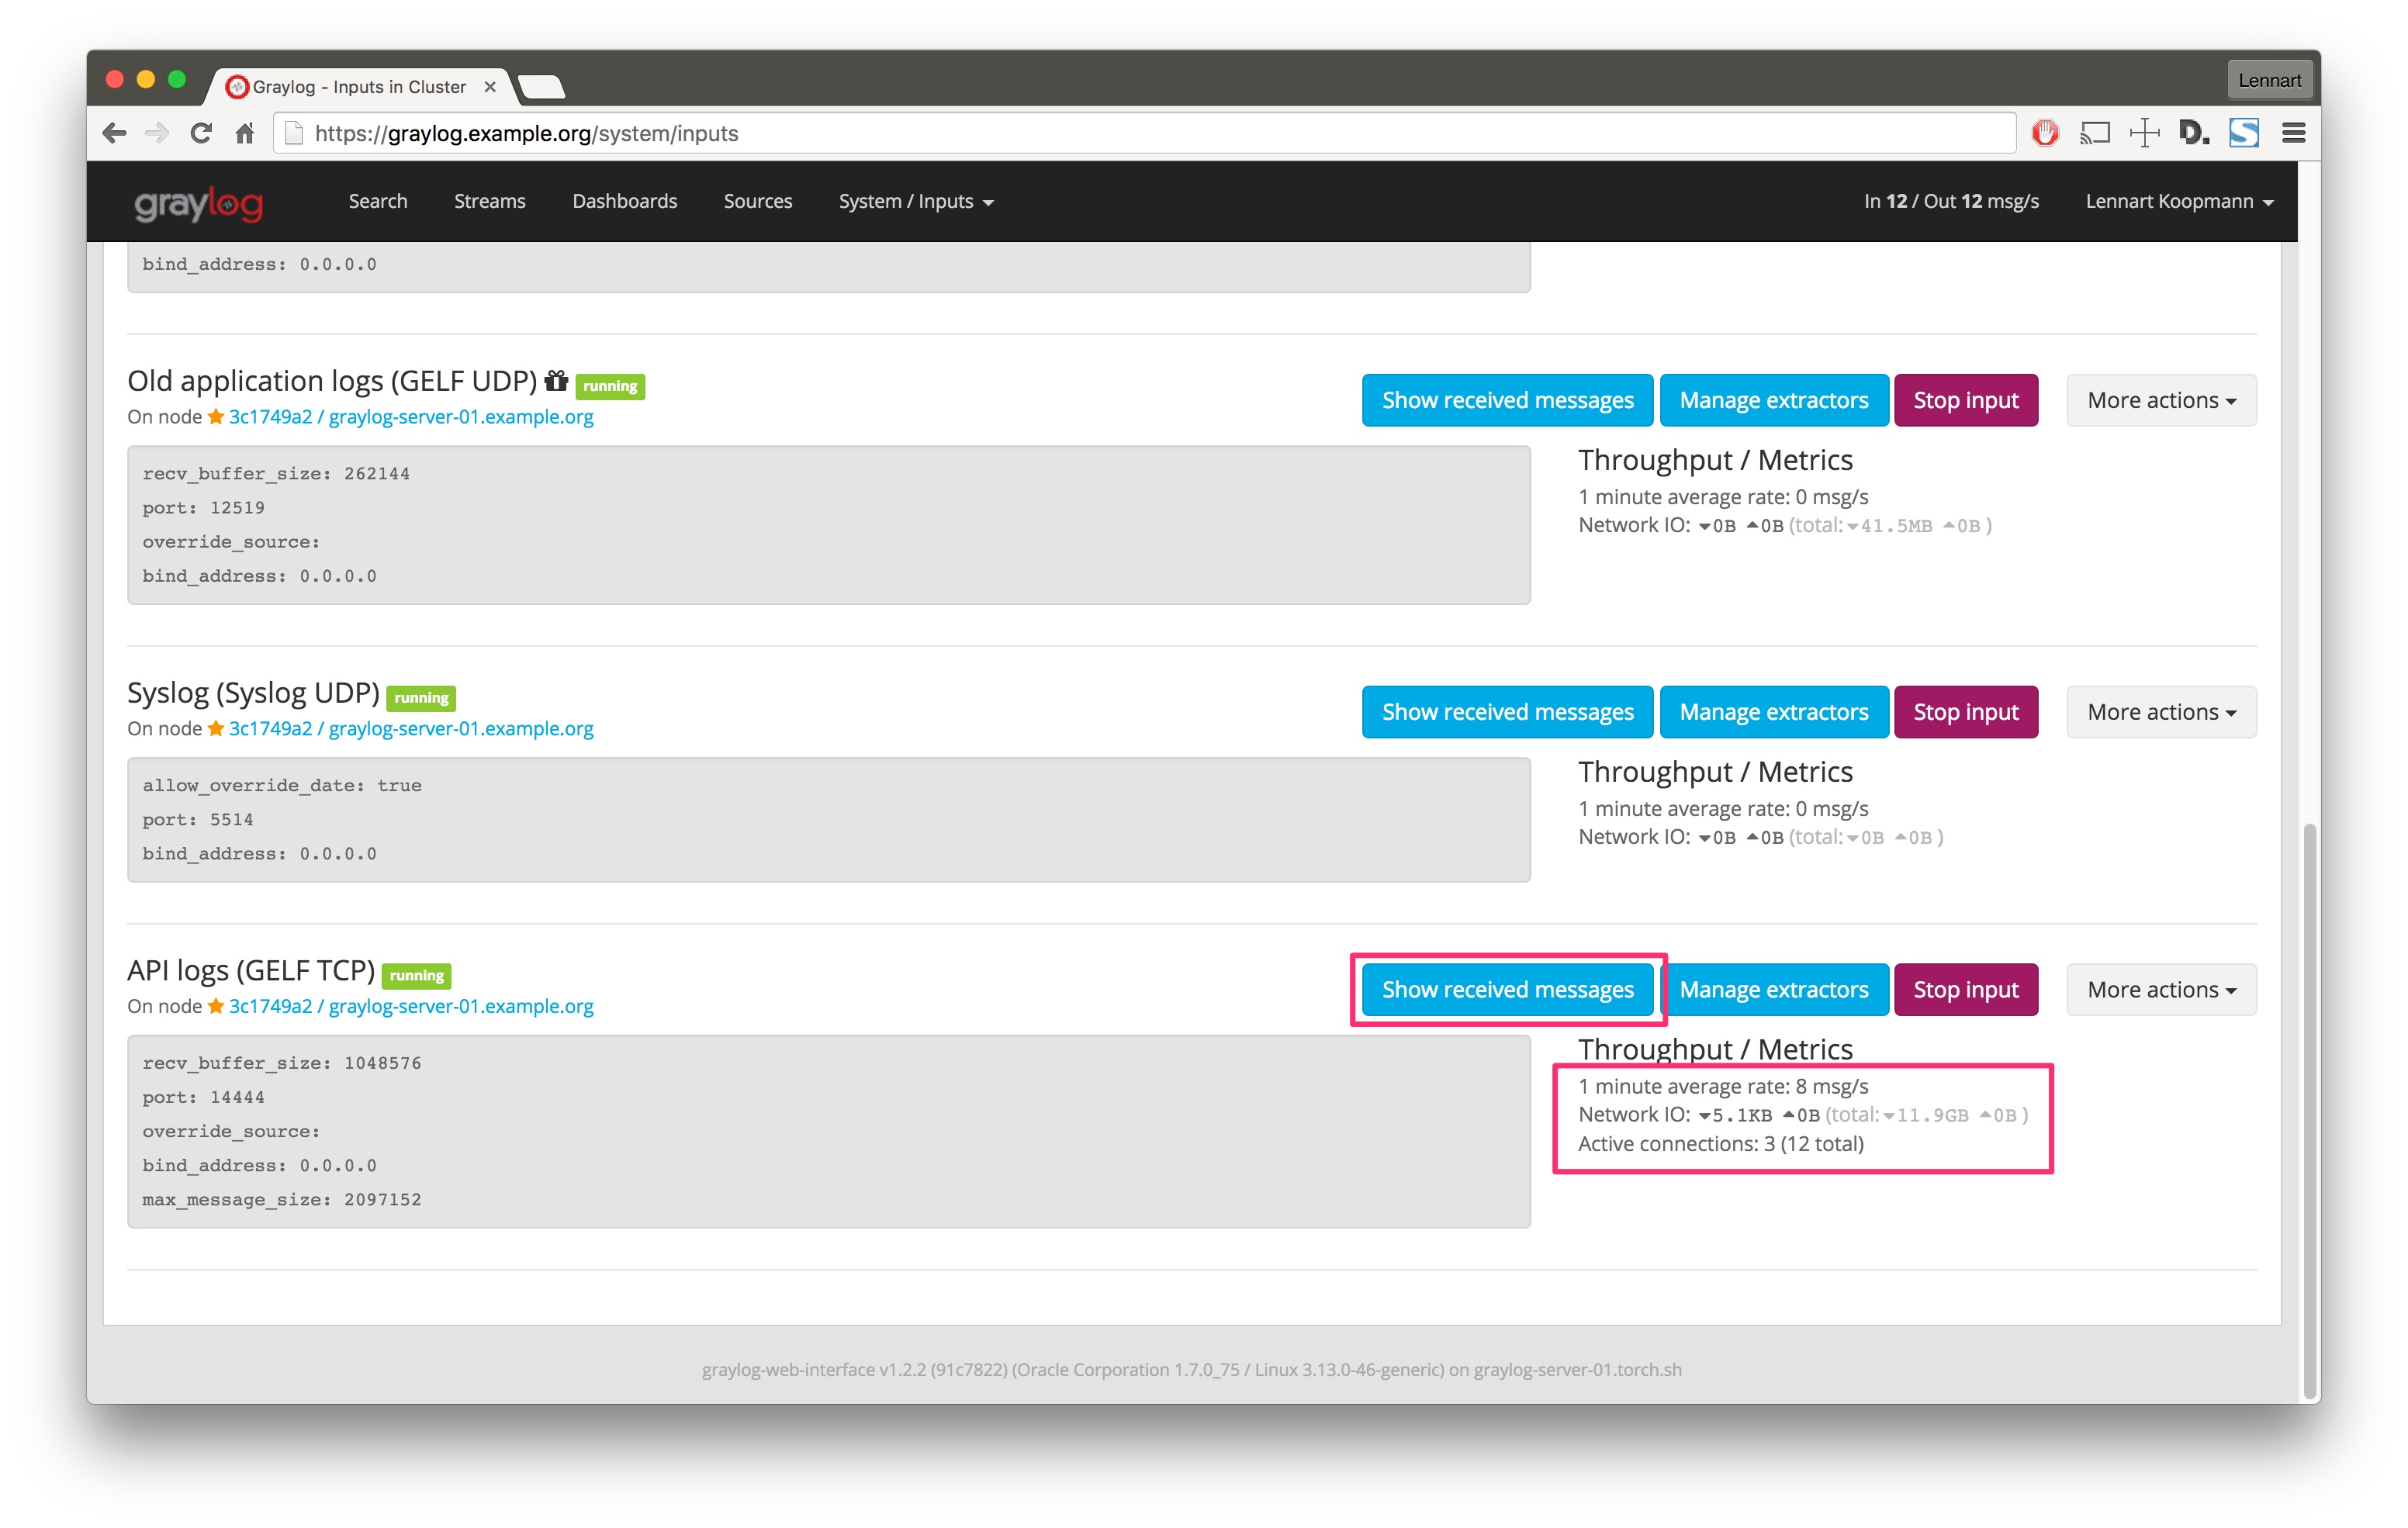
Look at the input metrics to see if any data arrived
The inputs overview page shows you metrics of established connections and how many bytes were transferred
since the graylog-server process started. This can help you identify if your sources are
connected to Graylog at all, or if there are connectivity problems or firewalls in between.
Find all messages ever received by a specific input
Sometimes your devices send a wrong timestamp which will lead to many time range searches not returning the messages you expect. Hit the Show received messages button to execute a search for everything that ever came in through this input and you should see them.

Launching an input
Launching an input is easy. Navigate to System -> Inputs, select an input type from the drop down box, and hit Launch new input. A dialog will open, and ask you for some configuration parameters.
You can now point the source you decided to start with towards your newly created input. Hitting the Show received messages button on the inputs overview page should show you messages that were received right away.